Monday 1 December 2014

Athearn Genesis Big Boy Upgrade Pt1

Being fans of big steam as we are, a UP Big Boy is a must for our collection. So bought brand new from Trainworld earlier this year was a model of 4018. Factory fitted with Tsunami sound and illuminated numberboards are a nice touch too!

Apart from 3 of the 4 wheels on the front pony truck being loose in the box (Athearn check your quality control!) what a fabulous model, the Tsunami is such and improvement on the MRC and the detail level is very high.

However a few (to me) glaring issues... the tender, trailing and pony truck wheels have all been chemically blackened, but are still seriously shiny! This is not that uncommon on models nowadays but what is unforgivable to me is the bare metal shiny axle ends poking out the centre of not only the pony truck but the driving wheels!

This I feel is ridiculous from a manufacturer as big as Athearn and puts a dampener on what is otherwise a great model.

Below are pictures of the 2 minute fix I made to greatly improve the look.

Before:


After


I think you'll all agree an essential task.

The other main improvement is the fitting of a Kadee #148 on the rear of the tender!

There are issues with the tender coal load which I will address in a future post.

Thanks for taking the time to read.

Tuesday 9 September 2014

Rescued B&O Hoppers Part 1

In this post I'm just showing you the condition of two hoppers, of a six car set, my dad picked up quite cheap at a rail ex here in the UK. The reason they where cheap, to me, is evident...
 
I'm not one for criticising other people's work, so I'll let the pictures show you:


These are Athearn Ready to Roll, basically, built up blue box kits with metal wheels and knuckle couplers in a fancy box. Nonetheless they match prototype design, lettering and numbers. They may not be accurate to the 'enth rivet but near enough for us.
 
What the above does mean is that they are easy to disassemble and will hold up to enthusiastic handling.
 
I wanted to preserve the factory lettering so stripping the cars was not an option. Unfortunately whatever the previous owner "weathered" the cars with was resistant to my attempts to remove, so I had to "salvage" the cars as much as possible.
 
The prototype we are modelling is 1956-1960 so for this mix of liveries would mean a differing level of aging. Obviously a bit of exaggeration on the worse cars would have to be performed.
 
Railroads in the 1960s weren't any more keen to clean cars regularly than railroads nowadays. Cars were repainted after being shopped for major works and the latest livery applied. So the newer the livery the newer/more recently shopped the car was and hence the cleaner it will look.
 
I will be posting the outcome of my ventures with these hopper soon and I hope you'll agree that they a major improvement over the state depicted in the above pictures.
 
Hope you'll join me then.

Wednesday 23 July 2014

Helping Hands

Thought I'd post about a few "aides" that I use for painting and weathering.
 
Firstly is a product from the Laser Kit line from American Model Builders - Wheel Painting Mask and Holder. It comes in a few different options, most notably for either 33" of 36" wheels but also for different manufacturers of wheels.
 
This clever little device holds 4 wheelsets, typically enough for a single freight car, while also masking the treads. A by product of the manufacturing also means that the holes are angled to match RP25 tread angles... This makes for a stronger grip and tighter paint seal.
 
Below is picture of mine, setup ready to paint another set of wheels.
 
 
Short of making a cup of tea the only other thing this little device can't do is protect the needle points from paint. My solution is a cotton bud (Q Tip) with a drop of thinners, when painting enamels, then running it over the point part way through the drying. You can leave it till they are hardened but takes more time and force.
 
The other item I shall cover in this post is my truck painting jig.
 
 
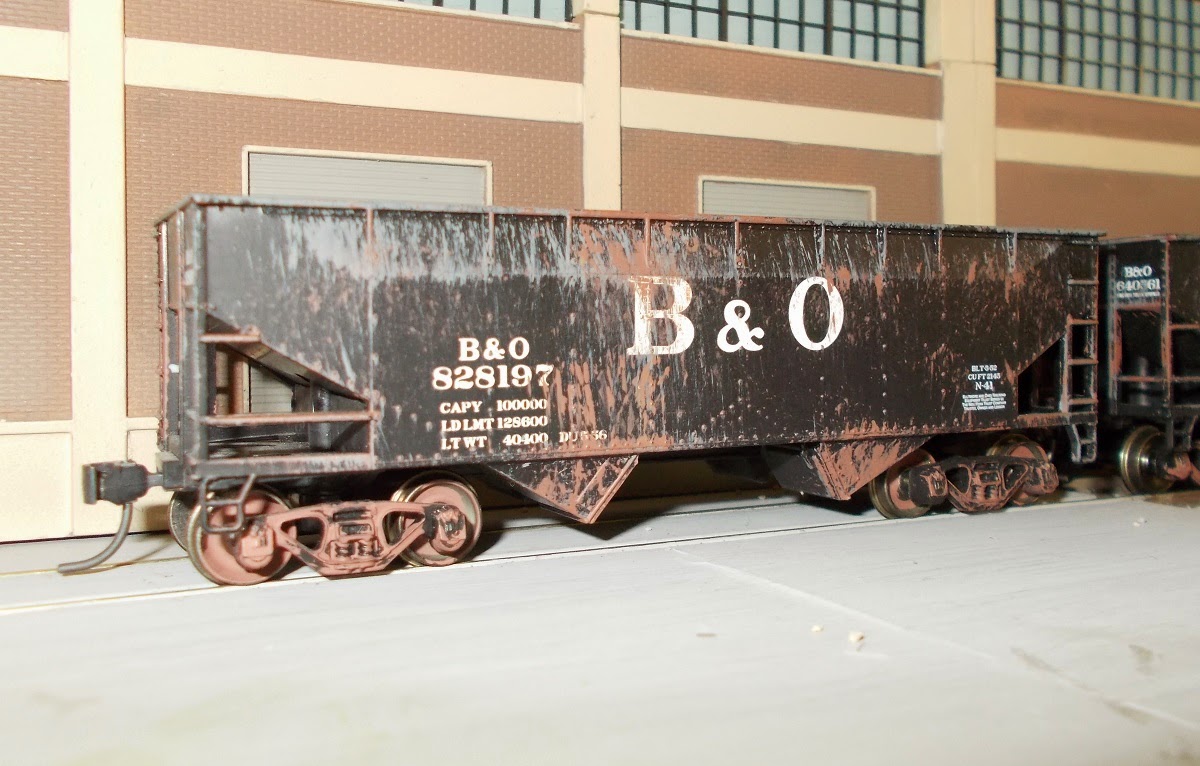
As you can see it holds the truck frames for painting, the wheels fitted in the trucks a stand-ins purely to prevent paint getting in the axle boxes. They are old plastic wheelsets that have made way for nice metal ones.
 
My jig holds 12 trucks, enough for six cars. Each mount is positioned to allow good access around each truck, prevents paint getting into the pivots and keeps it held in position so it doesn't move around in the wake from the airbrush!
 
 
Where may we get one of these fantastic jigs I hear you cry? Well sadly you can't buy these, as I made it myself.
 
Although unlike a magician I will tell you my secret... rain guttering... yes a left over piece of rain guttering I had lying around in the back yard from when we had UPVC installed. At the time we were obviously feeling flush as rather than the cheap common half round stuff, we opted for some channel style. Which 15+ years later proved beneficial when I needed to make a jig for painting trucks.
 
Short of the conveniently sized, and shaped, offcut of guttering you need 12 M3x30 pan head machine screws, 24 washers and 36 nuts. The rest I believe you can work out with the aid of the pictures. I allowed 1.5" around the pivots and seems to work out jus fine.


I did loose an evening's worth of modelling time in the whole project but I like to think it will allow me to have more quality modelling time over the next many years.


Thursday 10 July 2014

Virginian 2 Bay Hopper 12609

Been a while since I set this up and first posted, not been short of modelling projects in the time so thought I best make a start to show some of my projects.

I bought this model from evilbay earlier this year, unfortunately not in the best of condition, so first job was to strip it back to it's core components. Clean/debur as necessary, replace the naff retaining pins with screws to stop the bogies and couplers dropping out randomly. My primary aim is to make stock run reliably and function as well as possible.
 
Unfortunately I don't have any before pictures but below are pictures of the completed model re-assembled, metal wheels added, Kadee #5 knuckle couplers installed and weathered to suit my 1959 prototype.


Comments welcomed, I plan to do a detailed post about the techniques I use but this will be based on one of my unbuilt kits.

Monday 6 January 2014

Intro

Hello and welcome...
 
This is a new venture for me, so bare with me at times. I hope to share some of the work produced by the Abingdon Shops... my workbench. Also some adventures, model railroading related.
 
Ill start with posting a picture of one of my favourite classes of steam loco from my main interest... The Norfolk & Western
 
It is also apt as a recent bid to get the only surviving J Class number 611 operating again ready for the 2014 excursion season.


I hope you'll join me in following posts, where i'll explain some of my interests and projects planned for 2014.